画像の角を丸くしたアイコンなど、角を処理してレイアウトをまとめたい時にCALayerのcornerRadius, clipsToBoundsを使うと簡単にでき、円形に切り取ったようにすることもできます。
Xcode 13.4.1
cornerRadius
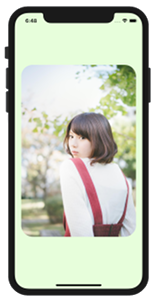
にあるように以下の画像をスクリーンに表示させます。

画像をスクリーンの90%に合うようにリサイズを入れます。
この画像の角を丸くするためにCALayerのcornerRadiusを画像frame幅の10%に設定します。
|
1 2 3 |
// 角丸にする imageView.layer.cornerRadius = imageView.frame.size.width * 0.1 imageView.clipsToBounds = true |
これをまとめたコードにするとこのようになります
ViewController.swift
|
1 2 3 4 5 6 7 8 9 10 11 12 13 14 15 16 17 18 19 20 21 22 23 24 25 26 27 28 29 30 31 32 33 34 35 36 37 38 39 40 41 |
import UIKit class ViewController: UIViewController { override func viewDidLoad() { super.viewDidLoad() // UIImage インスタンスの生成 let image:UIImage = UIImage(named:"img")! // UIImageView 初期化 let imageView = UIImageView(image:image) // 画面の横幅を取得 let screenWidth:CGFloat = view.frame.size.width let screenHeight:CGFloat = view.frame.size.height // 画像の幅・高さの取得 let imgWidth = image.size.width let imgHeight = image.size.height // 画像サイズをスクリーン幅に合わせる let scale = screenWidth / imgWidth * 0.9 let rect:CGRect = CGRect(x:0, y:0, width:imgWidth*scale, height:imgHeight*scale) // ImageView frame をCGRectで作った矩形に合わせる imageView.frame = rect; // 画像の中心を画面の中心に設定 imageView.center = CGPoint(x:screenWidth/2, y:screenHeight/2) // 角丸にする imageView.layer.cornerRadius = imageView.frame.size.width * 0.1 imageView.clipsToBounds = true // UIImageViewのインスタンスをビューに追加 self.view.addSubview(imageView) } } |
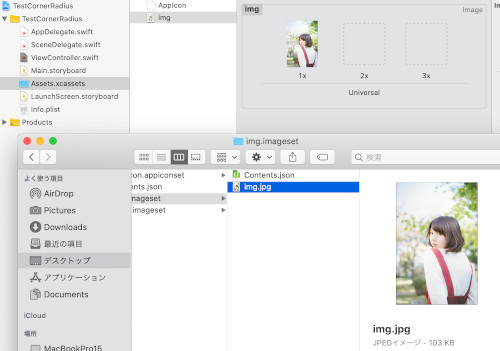
画像を選んで Assets.xcassets に入れます。
これで実行すると角が丸くなりました。

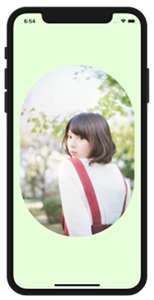
この角を更に丸くして50%にして見ます。
|
1 |
imageView.layer.cornerRadius = imageView.frame.size.width * 0.5 |
元の画像をcropなどを使って正方形にすると
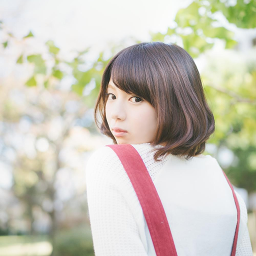
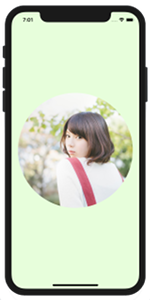
円形で切り取ったような処理になりました。
関連ページ:
- UIImageView の設定(コードで記述
- ストーリーボードを使った画像 UIImageView の設定
- 画像の拡大縮小 (CGRect)
- CGAffineTransform:画像を回転、移動、反転
- アニメーション(パラパラマンガ)
- Image, Text の合成
- 画像をドラッグさせる
- UIImage の使い方
- 画像をぼかす、モザイク化する
- CABasicAnimationを使たアニメーション
- cornerRadiusを使って画像を角丸にする
References:
cornerRadius – CALayer | Apple Developer Documentation
clipsToBounds – UIView | Apple Developer Documentation
UIImageView – UIKit | Apple Developer Documentation
UIImage – UIKit | Apple Developer Documentation